HOW TO PLANT VETIVER
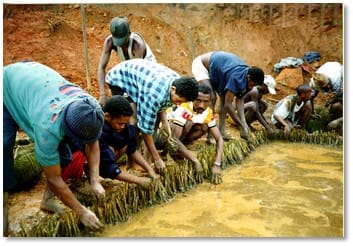
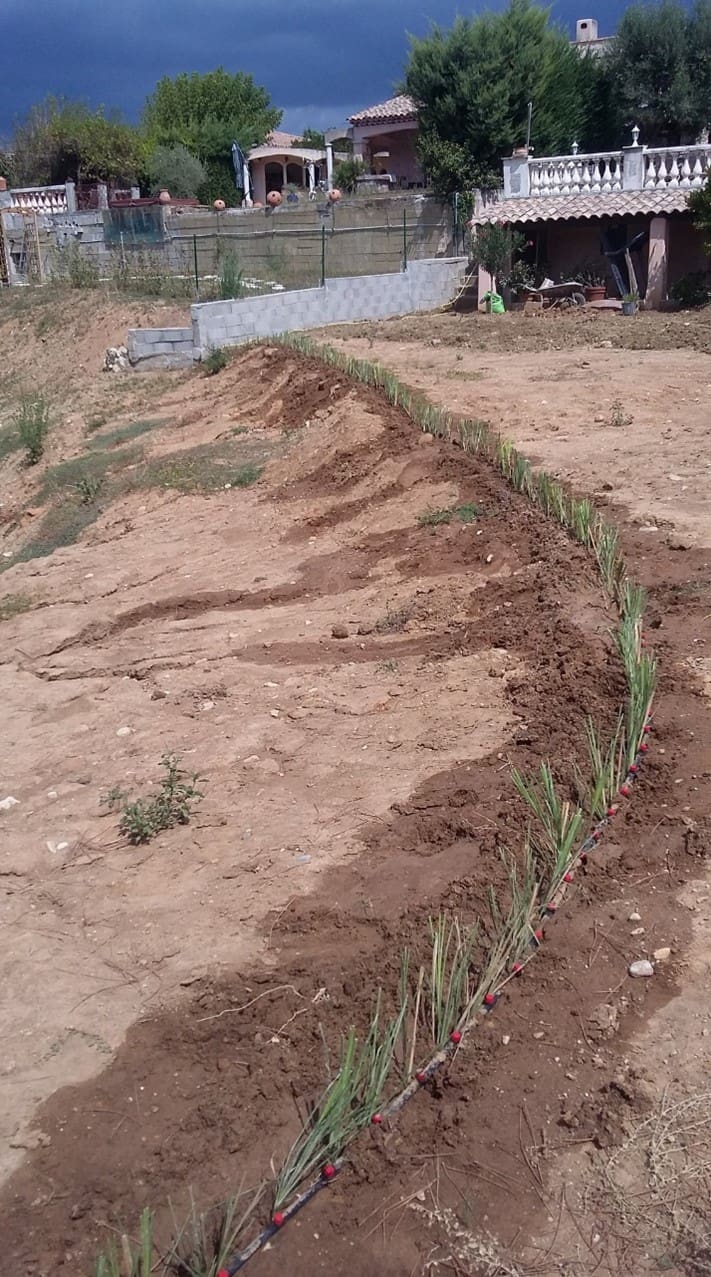
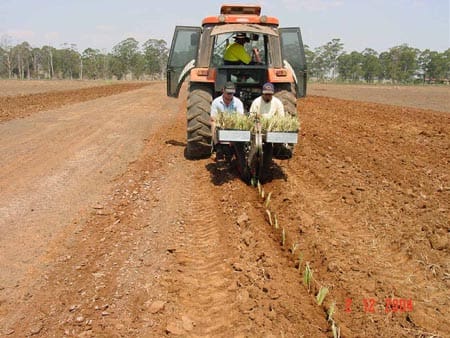
Planting bare root slips at the field application site
Vetiver grass can be planted under different configurations and on different media (soil/water), the most common by far is a conservation hedgerow

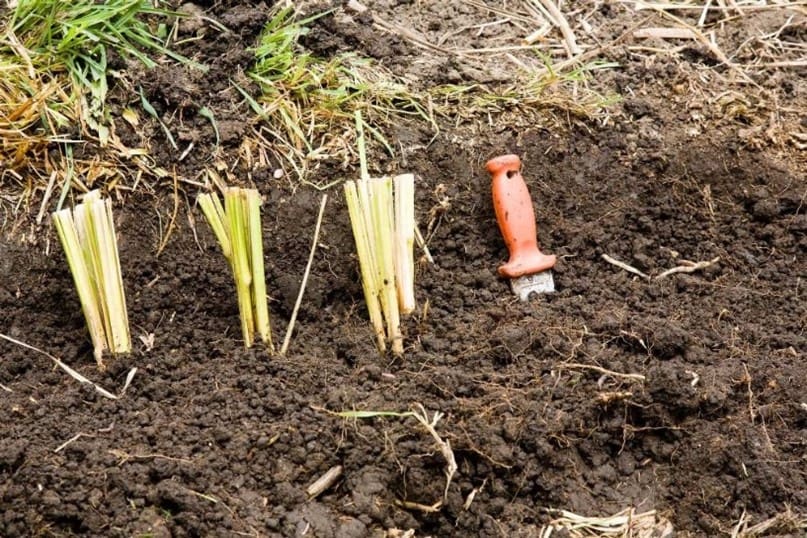
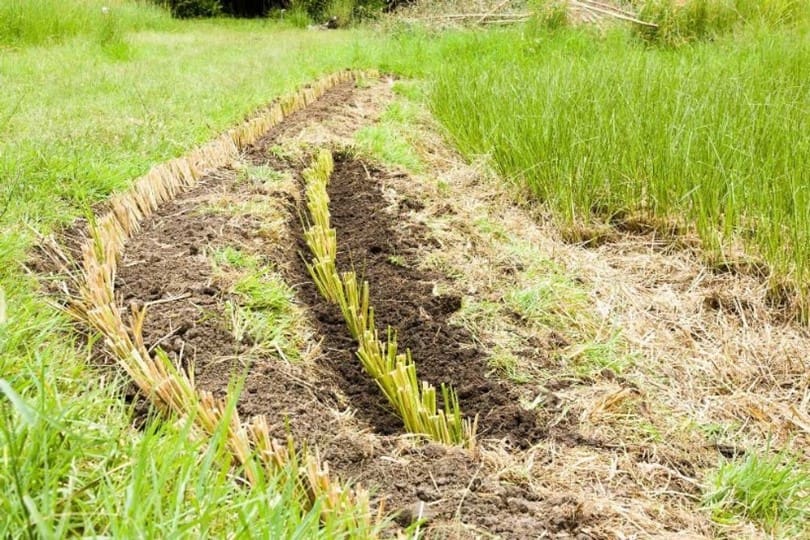
An effective hedge is one that is sufficiently dense to redistribute concentrated rainfall runoff, spreading it along the upper side of the hedge where the sediment load is deposited, and then slowly and evenly, passing through the hedge to the lower part of the conserved area. To optimize the speed and effectiveness of a new hedge’s establishment, vetiver slips must be planted closely together (10-15 cm).
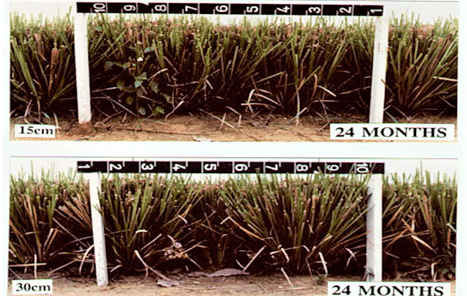
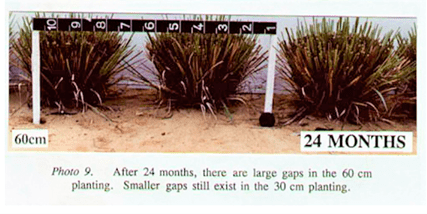
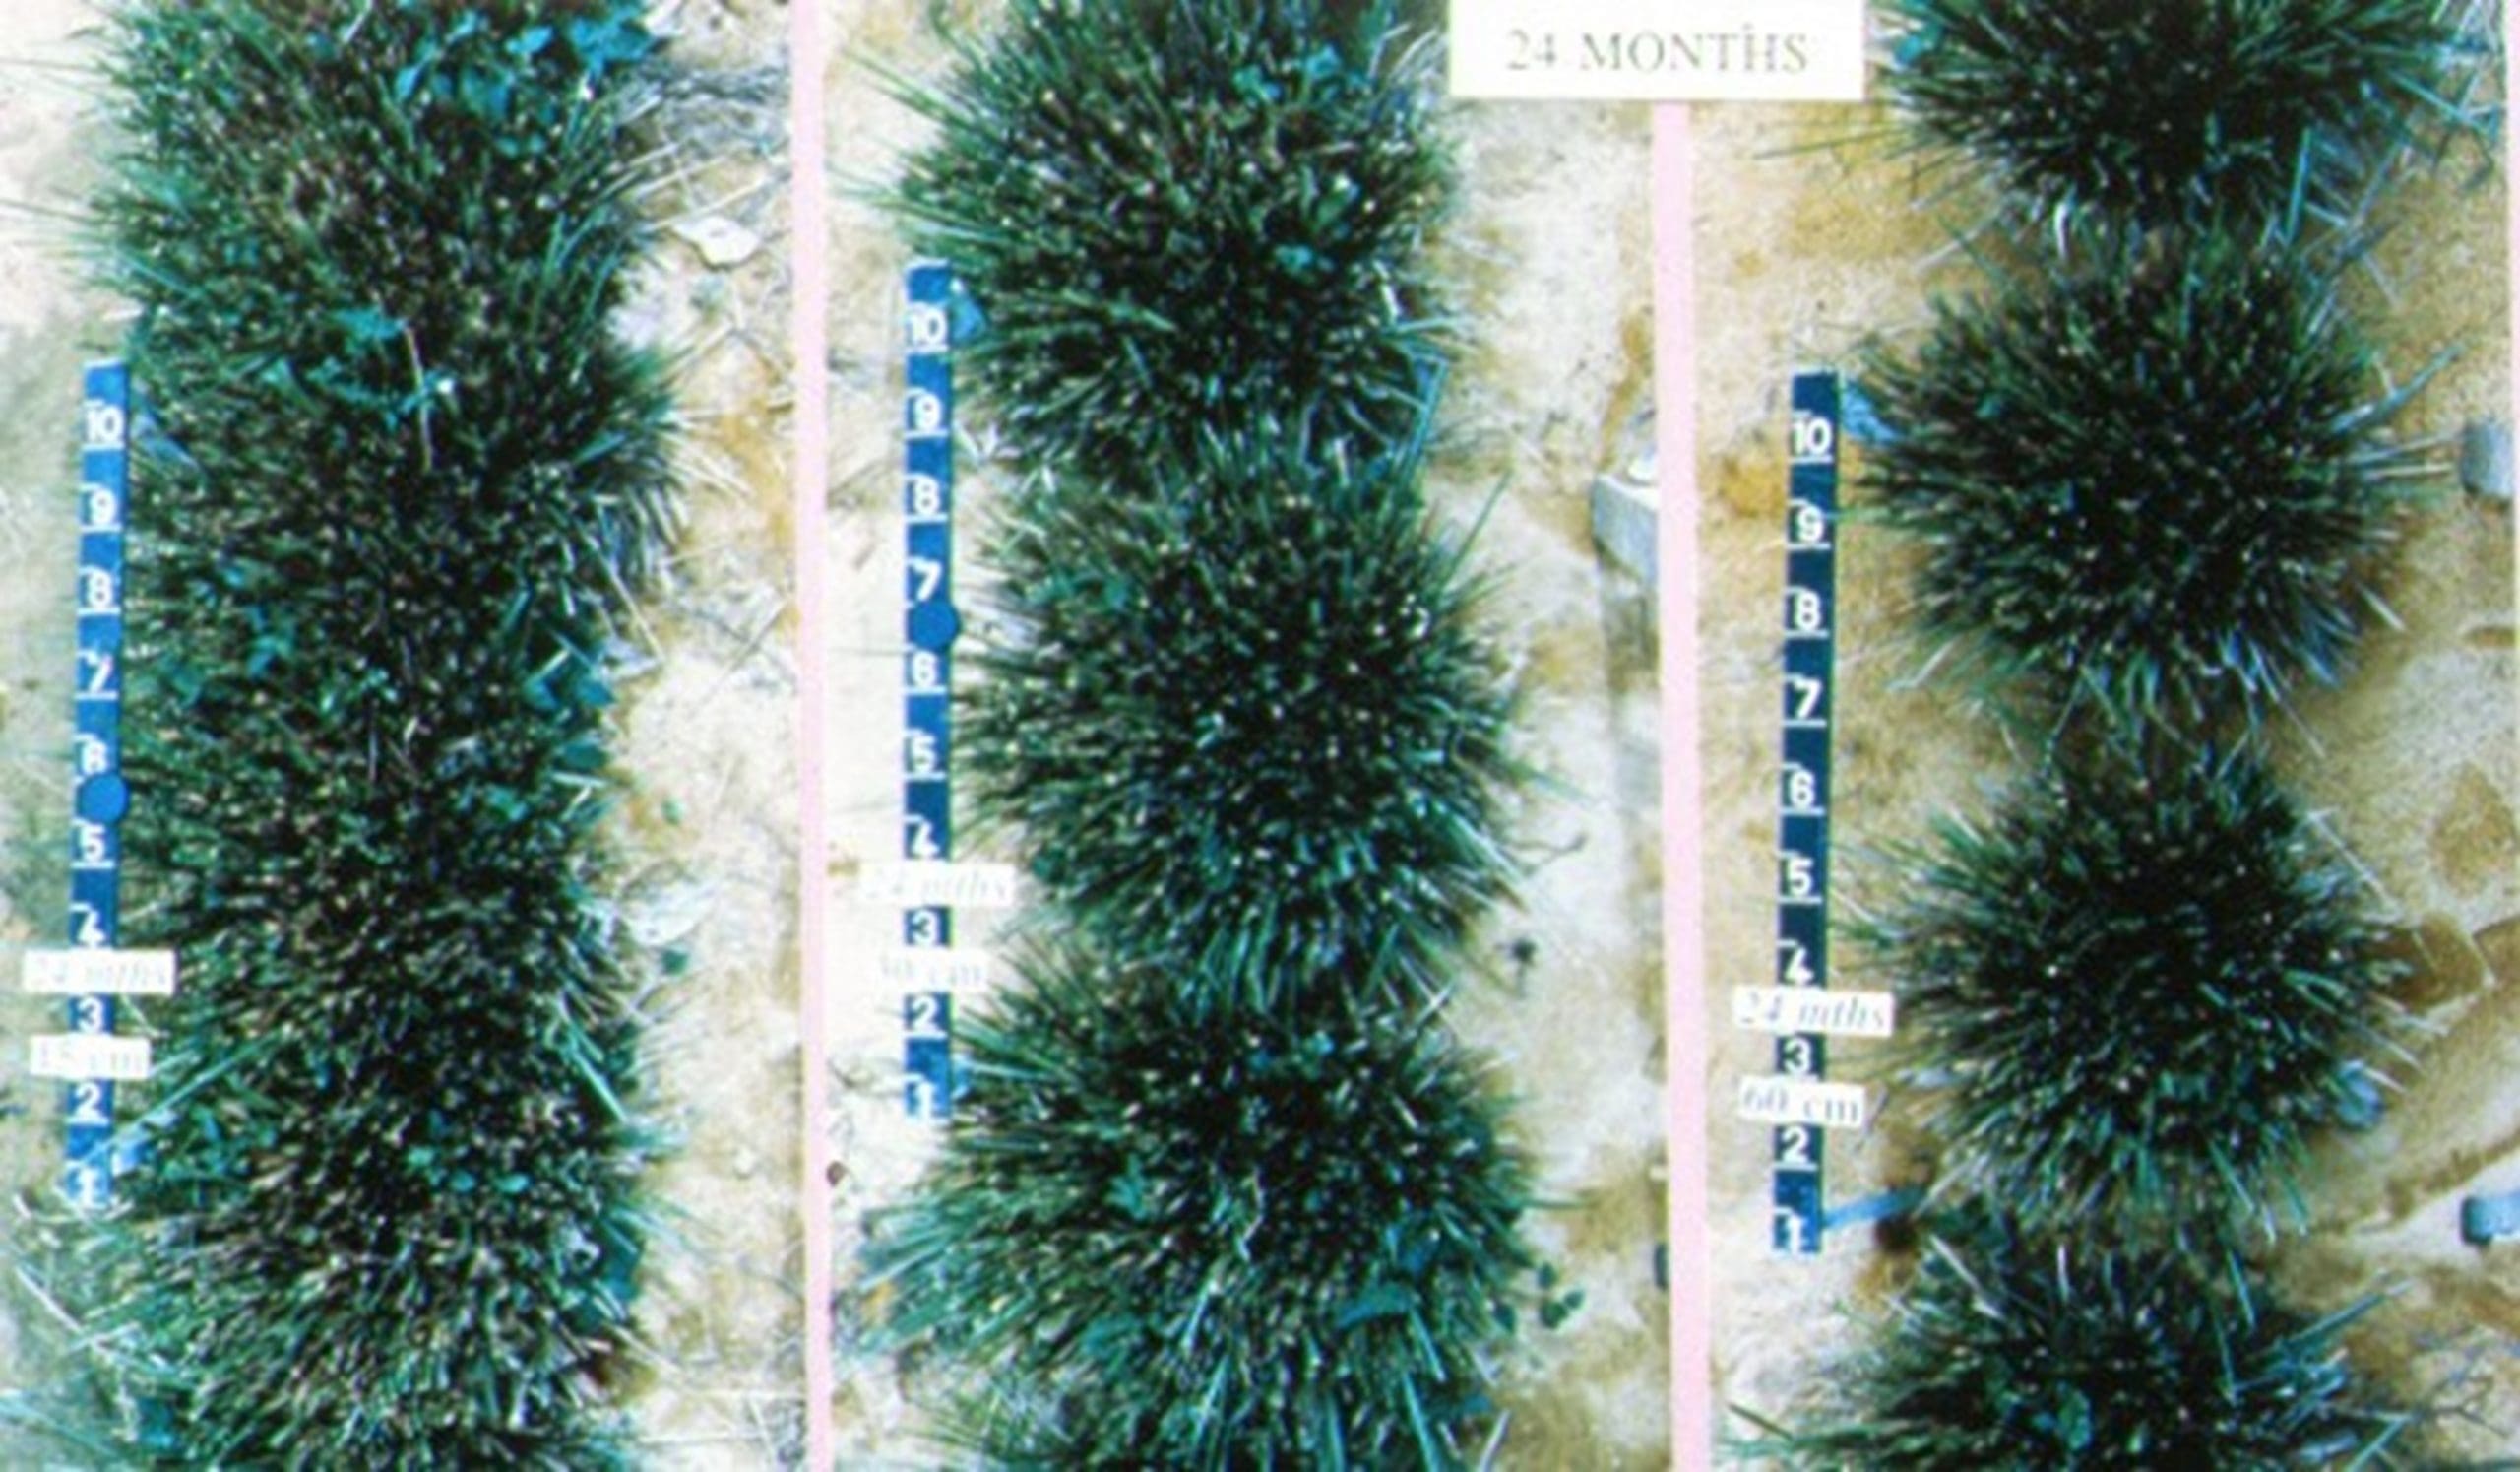

How to achieve this? — How to plant.
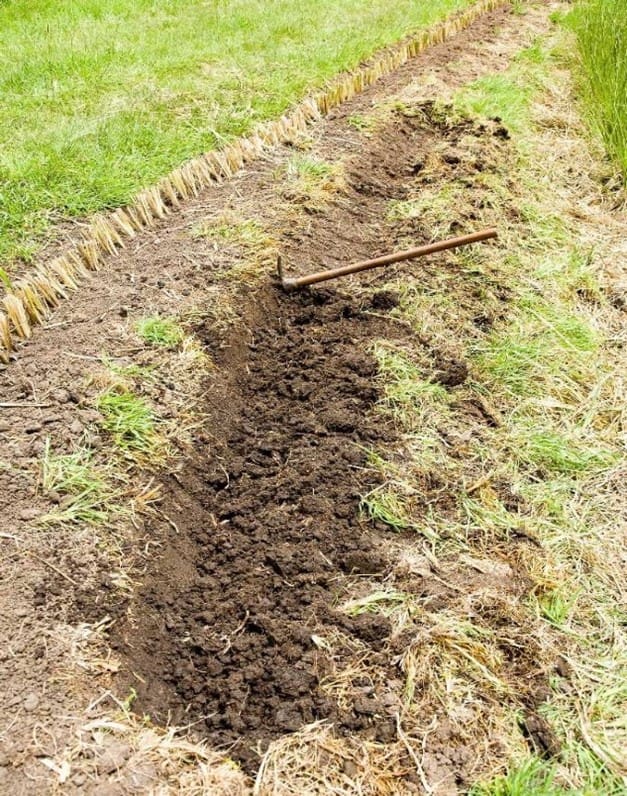

Fertilizer/manure recommendation:
Vetiver will establish better if about 100 kg of farm-yard manure (FYM) is applied per 100 running meters of hedgerow at planting. If FYM is not available di-ammonium phosphate should be applied at about 10 kg per 100 meters. Note one of the advantages of FYM is that it helps to improve moisture availability for the young vetiver plant at time of establishment. FYM and/or DAP should be applied liberally to nursery sites prior to planting of material for multiplication. The use of slow release NPK nuggets for containerized plant material, though not essential, optimizes growth rates. There is no need to use fertilizer for maintenance purposes once the hedges have been established. Local conditions vary as do specific fertilizer doses.

Watering:
Water the hedge, if no rain is immediately forecast, as it helps the soil settle in the pore spaces and around the crown of the slip to encourage it to establish faster. Irrigate enough to keep the soil moist for at least 2-3 weeks while the slips send out new roots from the crown. If planted in the dry season, before the rainy season watering every 10 day or so is recommended.
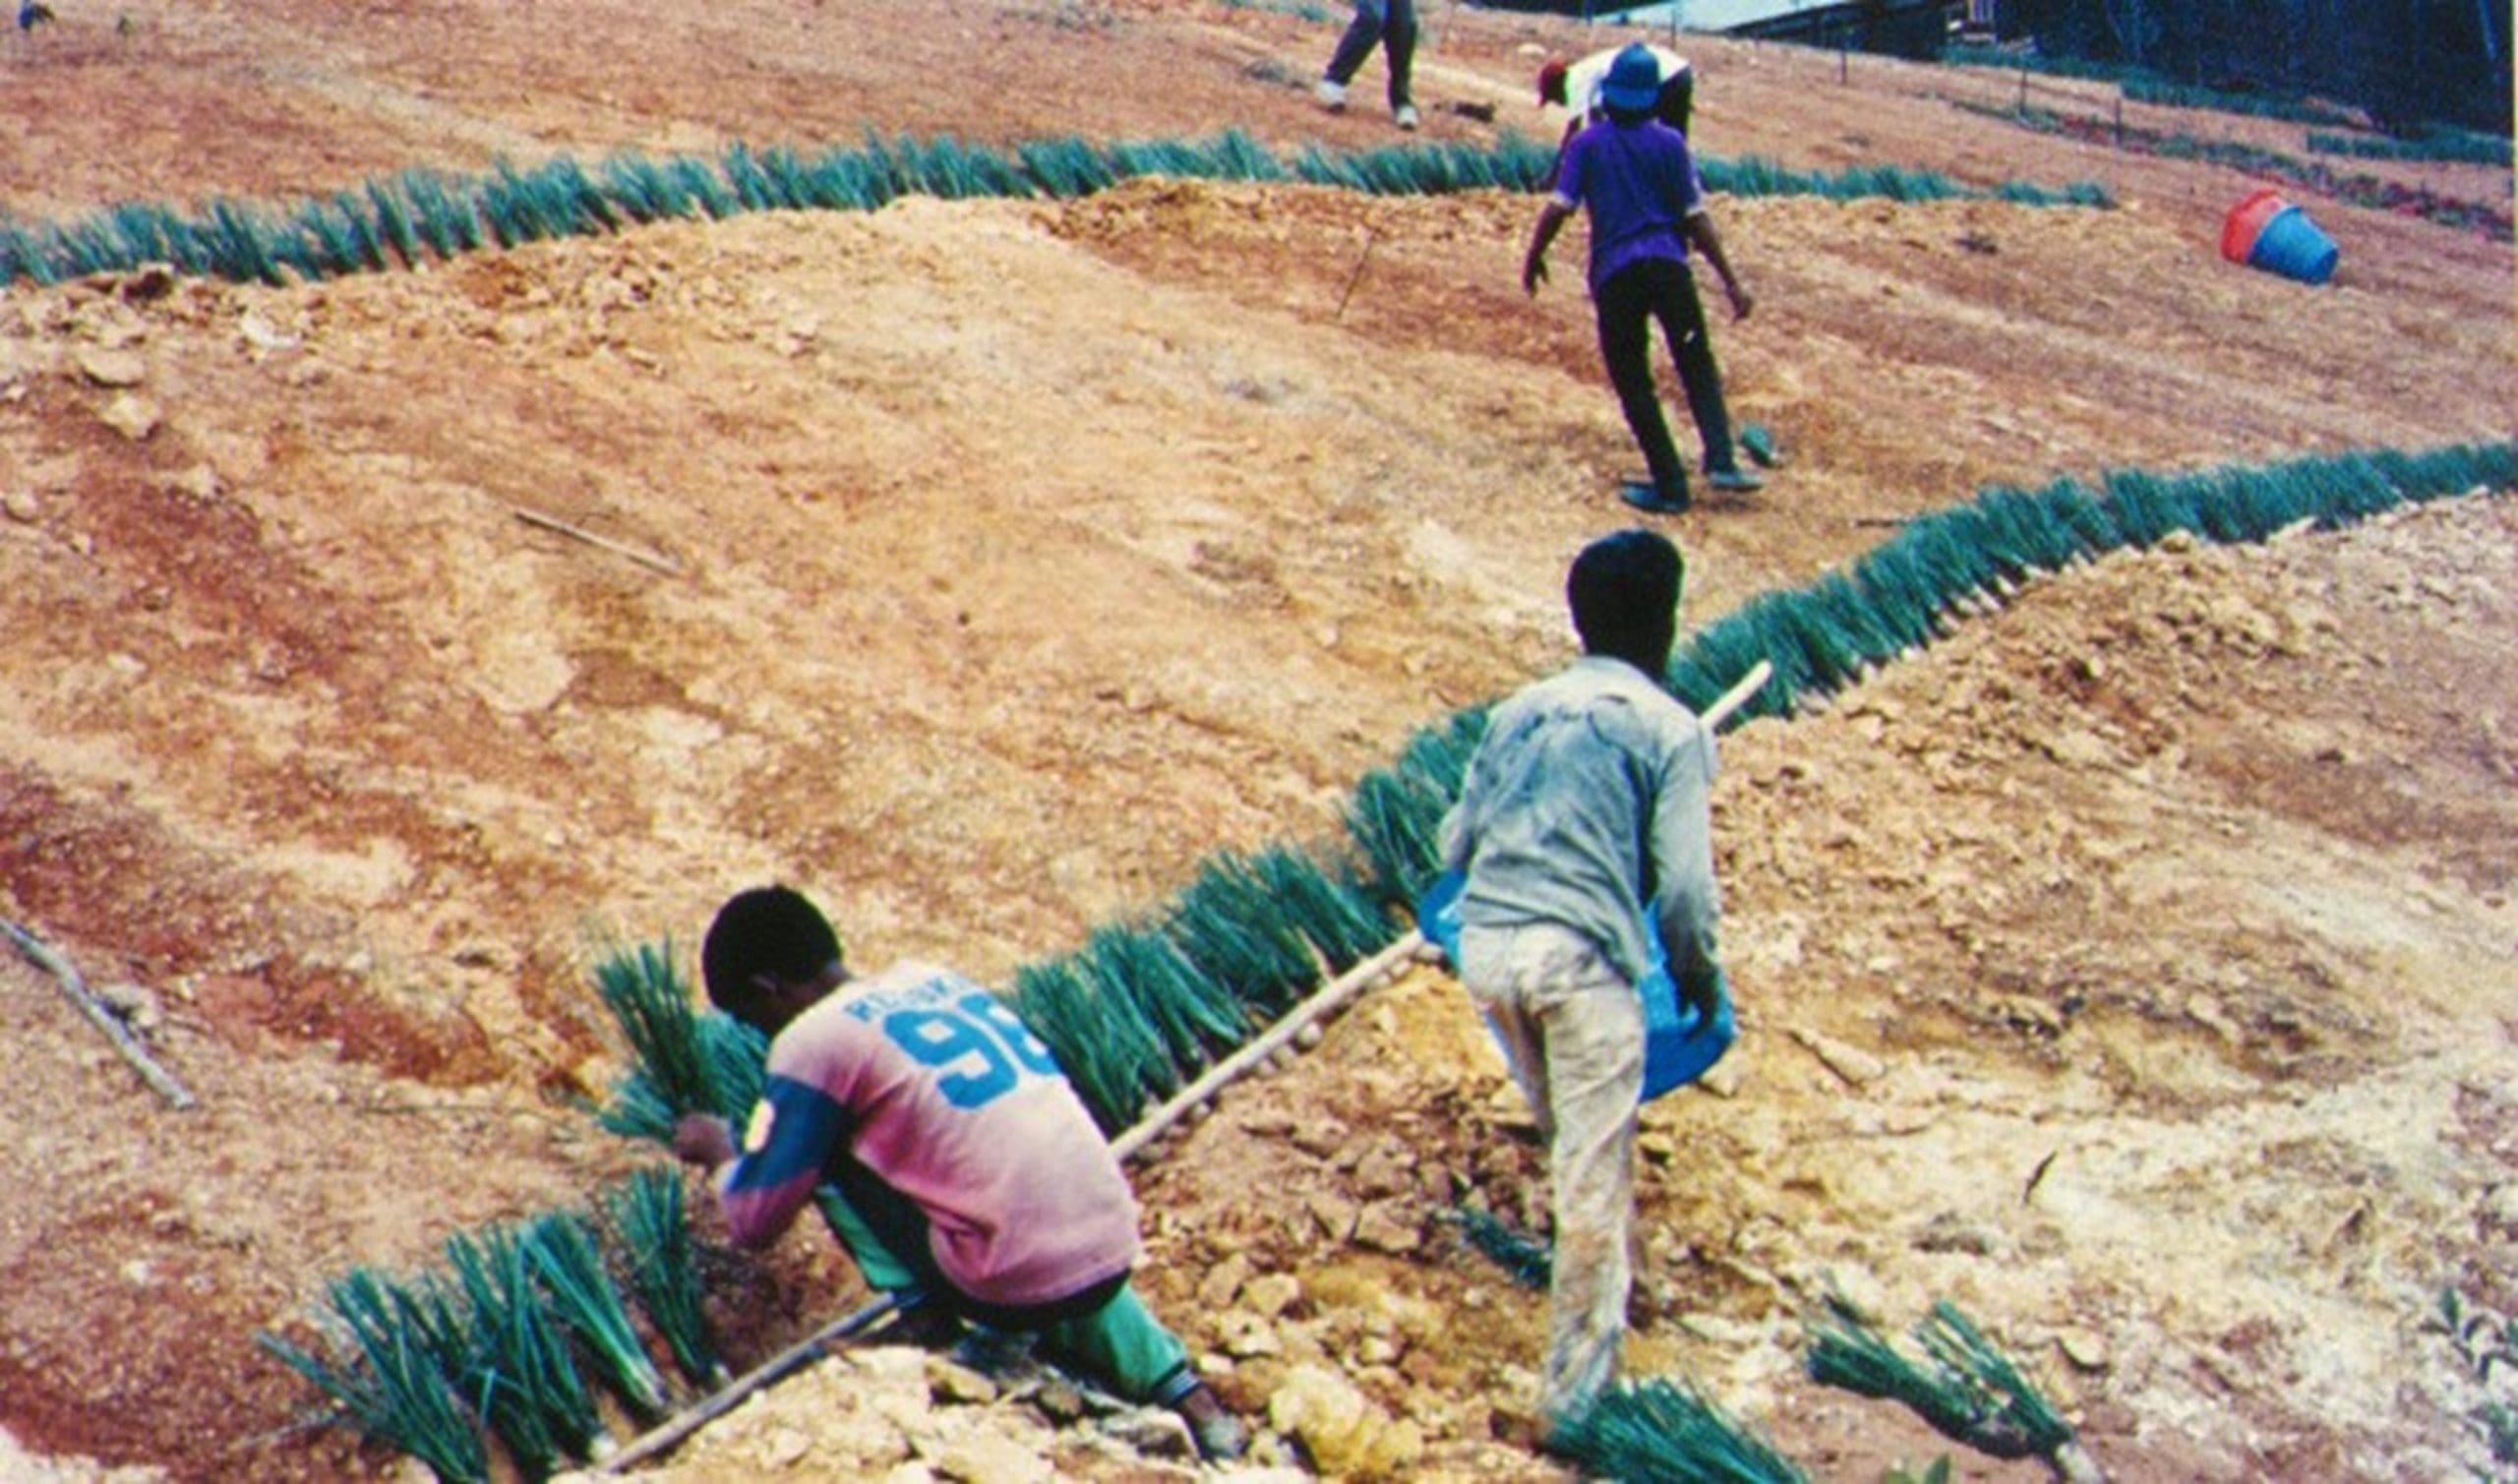
Spacing between hedges is important, and if correctly planned will be effective and will save costs. Spacing depends on slope steepness. Normally planting hedgerows at 2m vertical interval (VI) should optimize erosion control and costs. The following table helps to estimate hedge distances relating to slope%.
| Table to Estimate Planting distances between Vetiver Hedgerows based on Slope and Gradient at a Vertical interval of 1 meter. | |||
| Slope Degrees | Slope % | Gradient % | Surface Run – (Note a) |
| 1 | 1.7 | 1 in 57.3 | 57.3 |
| 2 | 3.5 | 1 in 28.6 | 28.7 |
| 3 | 5.3 | 1 in 19.1 | 19.1 |
| 4 | 7.0 | 1 in 14.3 | 14.3 |
| 5 | 8.8 | 1 in 11.4 | 11.5 |
| 6 | 10.5 | 1 in 9.5 | 9.6 |
| 7 | 12.3 | 1 in 8.1 | 8.2 |
| 8 | 14.0 | 1 in 7.1 | 7.2 |
| 9 | 16.0 | 1 in 6.3 | 6.4 |
| 10 | 17.6 | 1 in 5.7 | 5.8 |
| 11 | 19.4 | 1 in 5.1 | 5.2 |
| 12 | 21.3 | 1 in 4.7 | 4.8 |
| 13 | 23.1 | 1 in 4.3 | 4.5 |
| 14 | 25.0 | 1 in 4.0 | 4.1 |
| 15 | 27.0 | 1 in 3.7 | 4.0 |
| 16 | 28.7 | 1 in 3.5 | 3.6 |
| 17 | 30.6 | 1 in 3.3 | 3.4 |
| 18 | 32.5 | 1 in 3.1 | 3.2 |
| 19 | 34.4 | 1 in 3.0 | 3.1 |
| 20 | 36.4 | 1 in 2.8 | 3.0 |
| 21 | 38.4 | 1 in 2.6 | 2.8 |
| 22 | 40.4 | 1 in 2.5 | 2.7 |
| 23 | 42.5 | 1 in 2.4 | 2.6 |
| 24 | 44.5 | 1 in 2.3 | 2.5 |
| 25 | 46.6 | 1 in 2.1 | 2.4 |
| 26 | 48.0 | 1 in 2.0 | 2.3 |
| 27 | 51.0 | 1 in 2.0 | 2.2 |
| 28 | 53.2 | 1 in 1.9 | 2.1 |
| 29 | 55.4 | 1 in 1.8 | 2.1 |
| 30 | 57.7 | 1 in 1.7 | 2.0 |
| 31 | 60.1 | 1 in 1.7 | 2.0 |
| 32 | 62.5 | 1 in 1.6 | 1.9 |
| 33 | 65.0 | 1 in 1.5 | 1.8 |
| 34 | 67.5 | 1 in 1.5 | 1.8 |
| 35 | 70.0 | 1 in 1.4 | 1.7 |
| 36 | 72.7 | 1 in 1.4 | 1.7 |
| 37 | 75.4 | 1 in 1.3 | 1.7 |
| 38 | 78.1 | 1 in 1.3 | 1.6 |
| 39 | 80.1 | 1 in 1.2 | 1.6 |
| 40 | 84.0 | 1 in 1.2 | 1.6 |
| 41 | 87.0 | 1 in 1.2 | 1.5 |
| 42 | 90.0 | 1 in 1.1 | 1.5 |
| 43 | 93.0 | 1 in 1.1 | 1.5 |
| 44 | 96.6 | 1 in 1.0 | 1.4 |
| 45 | 100.0 | 1 in 1.0 | 1.4 |
NOTEa: The figures for the surface run are based on a vertical interval (VI) of 1 meter. To use this table, multiply the surface run by the VI: For example, with a VI of 2 meters on a 70 percent slope, the surface distance between vegetative barriers = 2 x 1.7 = 3.4 m
Further reading and references on Vetiver basics